Direct-to-film (DTF) printing is a trend among small business owners and DIY enthusiasts. This process lets you create high-quality prints without spending a lot of fortune. If you want to know how to do DTF printing at home, you’ve come to the right place. This article will discuss everything you need to learn about this printing method, from gathering supplies to solving common issues. By the end of this guide, you’ll know how to make DTF transfers at home, even if you’re a beginner!
What Is DTF Printing and Why Should You Do It at Home?
DTF printing is a relatively new method. This technique uses a special film to transfer a design to the garment using heat. Unlike other printing tactics, DTF printing works on a more extensive range of fabrics and can produce high-quality prints. It also requires minimal equipment, making it ideal for at-home projects. Best of all, it’s cost-effective since you don’t need to look for a print shop to get the job done.
Getting Started With DTF Printing at Home
Before your DIY DTF printing journey begins, you need to gather all the required materials and tools. Having proper supplies at hand will make the process easier and ensure your prints turn out well.
Essential Tools and Equipment for Home Use
Here’s a list of the tools and equipment you need for your DIY projects:
- DTF Printer: It’s a special printer that uses unique film and pigment inks. Some beginners convert inkjet printers for this purpose, but if you want to achieve better results, a dedicated printer for this printing method is the best option.
- Transfer Film: It’s where you’ll print the designs before transferring them to the fabric.
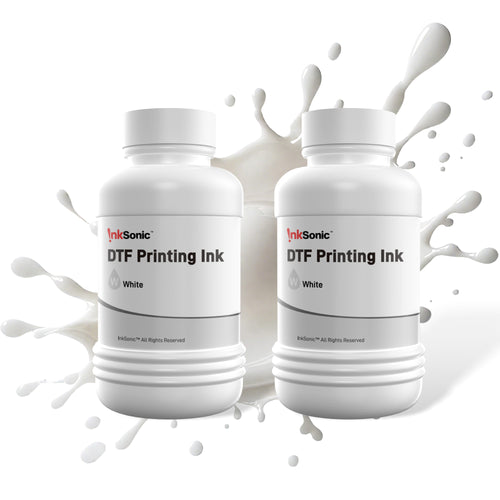
- DTF Ink: Compared to inkjet inks, these water-based, specially formulated inks produce vivid and durable prints. They’re available in white and CMYK colors.
- Powder Adhesive: It’s a fine powder applied to the design before curing. It bonds the ink to the fabric to ensure the pattern lasts, even after multiple washes.
- Heat Press: This equipment is crucial for DTF transfers. Alternatively, a household iron should do the trick if you don’t have it yet.
Additional Tools Needed
Besides the essentials, you may also need the following:
- Curing Oven: This device ensures the powder cures properly onto the film.
- Software: Graphic design software helps you create your logo and send it to the printer.
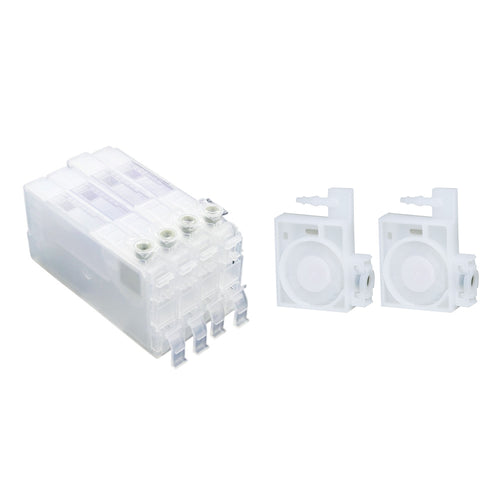
- Cleaning Solutions: A kit with all cleaning solutions is essential to keep the printer’s head in tip-top shape.
Each item plays a vital role in a successful DTF printing project. While some components, like the software, are readily available, investing in a high-quality printer and a heat press is necessary for long-lasting results.
How to Select the Right DTF Printer for Beginners
As mentioned earlier, getting a printer dedicated to DTF printing is essential to achieve high-quality results. Several DTF printers are available on the market, making it a bit daunting to find one suited for beginners. To ensure you get the right printing machine, consider the following factors:
- Ease of Use: Check if the printer you’re eyeing has easy-to-use controls and quick maintenance.
- Size and Space: Consider the volume and the workspace. If you plan on high-volume production, a larger printer might be necessary. A desktop model is usually the better fit for smaller projects or limited space.
- Ink Compatibility: Choose a printer that is compatible with your pigment ink and can handle your printing demands.
Some popular models for newbies include converted printers, which are more budget-friendly and a good start for your DTF printing journey. But once you’ve decided you need an upgrade, consider the factors above to get the printer you need.
How to Prepare Your Workspace for DTF Printing
Once you have all the necessary materials, it’s time to prepare your workspace. An efficient work area will help you work seamlessly and reduce printing mistakes.
Step 1 – Find the Right Space for DTF Printing
Choose a clean, well-ventilated area with enough space for your tools and equipment. Also, ensure the space is debris- and dust-free, as these particles can affect the outcome of your prints.
Step 2 – Organize the Tools and Supplies
Keep all your DTF printing supplies within reach. Use shelves, drawers, and containers for your DTF films, inks, and powders, and label everything to avoid confusion.
Step 3 – Always Be Safe
While DTF printing is relatively safe, taking precautions is always smart. Keep flammable materials away from your heat-press, and be mindful of where you place them. Wearing gloves while handling adhesive is a good idea, and opening windows or using a fan can help with ventilation, especially when curing prints.
With a well-organized and prepared workspace, the DTF printing process at home becomes more enjoyable and productive.
How to Do DTF Printing at Home: A Step-by-Step Process
Once your workspace is ready and has all the supplies and equipment, it’s time to learn the DTF printing process. Here’s a breakdown of the steps to make them easy to follow:
Step 1 – Choose or Create the Design
Before starting the procedure, you need a digital design—this is where graphic design software comes in. Using a graphic design program allows you to create, choose, and edit your designs. These can be a logo, a graphic, or a text-based artwork.
Consider the size of the product or garment you’re working on when making or editing a layout. Scale your artwork accordingly to ensure it fits perfectly. Another thing to consider is the resolution. Set it to a high definition (300 DPI) for detailed, crisp results. Last but not least is the color mode. Set your creation to RGB color mode to accommodate the DTF ink system. Once everything is set, save your design in a PNG or TIFF format to achieve your desired outcome.
Step 2 – Set Up the Printer and Start Printing
Once you’re satisfied with your draft, it’s time to bring it to life. Start setting up your printer. Load the film into it and ensure the design is in reverse. This way, the layout appears in the right direction once transferred to the garment. Check if the DTF printer has enough ink (CMYK + white) and use a RIP (Raster Image Processor) to control ink distribution. That way, the design will pop out even on darker fabrics.
Always be cautious and meticulous when setting up the printer and verifying these settings. Minor errors can result in poor-quality transfers.
Step 3 – Apply the Adhesive Powder
After printing the design, sprinkle the adhesive powder. It’s one of the delicate parts of the DTF printing process. If applied adequately, your artwork sticks to the fabric once heated.
Sprinkle the powder over the freshly printed layout. Shake off the excess to prevent clumps and make it look more professional and cleaner.
Step 4 – Cure the Adhesive
Once you’ve applied the powder, you need to cure the film. Proper curing is critical to solidify the adhesive and ensure the print longevity. Most powders can be cured at around 160-176°C (320-350°F) for 2-3 minutes.
Place the printed film in a curing oven or under a heat gun until the powder melts and sticks into the ink. Do not overheat the design. Otherwise, it won’t stick to the fabric, ruining the transfer.
Step 5 – Transfer the Design to the Garment
With the transfer fully cured, you can now apply it to your fabric. Lay the garment on the heat press (or any flat surface if you’ll use an iron). Then, place the film with the design face-down to the fabric. Ensure the ink and garment are correctly aligned.
Set the heat press at 320°F (160°C) for 15 to 20 seconds to transfer the design. Alternatively, press an iron firmly for several minutes to ensure the heat spreads evenly. Once it cools down, gently peel off the film and see the result of your creation.
Step 6 – Final Curing and Testing
To ensure the DTF design lasts, post-transfer curing is a must. Re-press the fabric for 5-10 seconds with parchment paper on the pattern. Doing so guarantees the ink and adhesive stick permanently.
Finally, it’s time to test the design. After 24 hours of setting the design, toss it in the wash. Most DTF prints can handle up to 50 washes if cared for properly.
Common Issues and Trouble Shooting for DIY DTF Transfers
You may still encounter challenges even after learning how to print DTF at home. Below are some common problems and how to troubleshoot them:
Ink Smudging or Bleeding
If you see ink smudges or the ink is bleeding during printing, the culprit could be the ink you’re using and the wrong printer settings. Use inks specially made for DTF printing. Also, check if the printer settings are optimized for the film and ink you’re using.
Poor Adhesion to Fabric
This issue occurs if the powder is inadequately cured or the heat press settings are incorrect. To fix this, double-check the temperature and pressure settings for the fabric you’re using. You might also need to adjust the curing time to ensure the powder melts evenly.
Faded Colors After Washing
If the design fades after one wash, it’s likely due to rushed curing or improper transferring. The next time DTF printing, ensure the layout is fully cured before transferring it to the garment. Furthermore, double-check the heat press settings so the design sticks firmly to the fabric.
Start Your DTF Printing Journey Today!
Now that you know how to do DTF printing at home, you’re on the road to making high-quality, custom prints with less hassle. With the right tools and practice, you can master the art of DTF printing and use your creative juices to design eye-catching artwork.


